Sanding and Buffing the Lacquer
After the lacquer cures for a few weeks it can be sanded perfectly level and buffed to a high gloss. During those weeks, almost all of the solvents evaporate and the remaining solids get dry and hard. Instrument grade lacquer isn’t the same as other lacquers, it contains certain chemicals that help it stay a bit more flexible, thus reducing the dampening effect that the coating of lacquer might otherwise have on the vibration of the wood.
My sanding schedule generally starts with 220-grit paper, followed by 320-, 400- and 600-grit. Sanding is a very slow, tedious process. It has to be done very carefully in order to avoid sanding right through the lacquer and down to the wood. This is a particularly big concern on guitars such as this one that have had dye added to the finish because if the tinted lacquer is sanded away, it is very difficult to repair the finish and not leave a trace. When sanding, I lubricate the paper with mineral spirits. The lubrication is supposed to result in fewer deep scratches in the finish because it lifts the sanded particles off the surface of the lacquer. In addition to being slow and tedious, the process is also very messy. The sanding leaves a white film all over the guitar and my hands. I didn’t take any pictures during the main sanding process because my hands were too dirty to touch the camera.
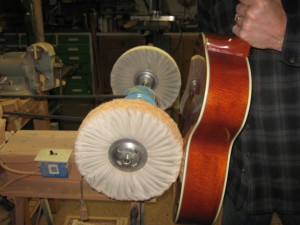
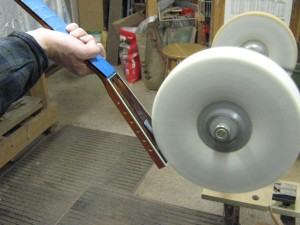
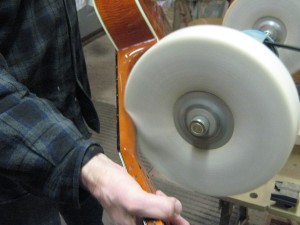
After the entire instrument is sanded to 600-grit I start buffing the lacquer. I use two different wheels–one has coarse buffing compound and the other has fine buffing compound. As is the case with sanding, when you move from one buffing compound to another, you are really just replacing bigger scratches with smaller scratches. In the end, the small scratches become so small that they are imperceptible to the naked eye, but they would be quite apparent under magnification, or in the wrong light. Here are some pictures of the guitar being buffed:
The buffing wheels turn pretty quickly and are not easily slowed down. It takes a lot of concentration to avoid disasters; something that probably comes only with years of experience. Earlier in my career it was not all that unusual for me to be too agressive and buff the finish right off a spot on the guitar. That was always traumatic and resulted in some lost time and effort repairing the mistake. Worse, though, is that the wheels can catch an edge of the instrument and take it right out of my hands if I’m not careful. I had that happen once with a ukulele. I was buffing away and before I even realized what was happening, the instrument had been pulled out of my hands, slammed to the floor and broken into many pieces! A sickening feeling, indeed. The worst guitar disaster happened when the instrument was being buffed on one wheel and the peghead was inadvertently pushed into the other wheel. The wheel caught the peghead very aggressively and snapped it right off the neck of the guitar. That was pretty terrible.
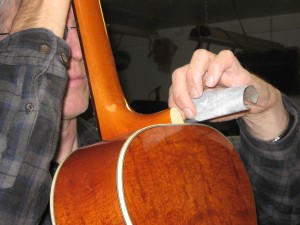
After most of the guitar has been buffed repeatedly I inspect it closely and give a little extra attention wherever necessary, such as at the neck-to-body joint. Here I will sand up to 2000-grit and then polish the area by hand because I can’t get the wheels in close enough to make the area presentable.
After several days of work, the guitar is smooth and shiny all over and ready for the final steps of the process.


