Binding the Body (Pt. 1)
The next step in the construction process is to put binding around the body. I suspect most people think that the binding is simply a decorative feature, something to dress up the guitar and visually frame it. Binding definitely does do that, but it has a more important function: it protects the delicate and vunerable edges of the top and back of the body.
Most guitars get bumped at least a few times, especially around the edges of the body. If the bump is hard enough, the finish can get damaged and either crack or chip off entirely. If there is no binding around the body, the cracked or missing finish will leave that part of the top or back exposed to the atmosphere. Except at the very widest dimensions of the upper and lower bouts, the grain lines terminate at the edges of the body, so wherever a chip might occur in the finish, “end grain” is left exposed. The concern every guitar owner should be aware of is that moisture is released and absorbed 5 to 10 times faster at the end grain as it is anywhere else in the wood. All of the wood in the guitar will absorb and release moisture as environmental conditions change, but it will happen at a much faster rate wherever end grain might be exposed. This creates areas of stress in the plate and can result in devastating cracks. Having binding around the body helps to seal the end grain and decreases the chances of developing a post-traumatic crack in the top or back.
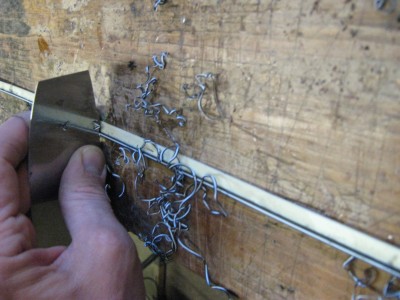
Bindings and purflings are commonly made of either wood or plastic. (Purflings are the lines inside of the binding, they are strictly ornamental.) In this guitar I will use plastic because that is consistent with the Stella design. The material I use for binding comes to me as 2 by 4 foot sheets which I slice on a table saw and laminate together into the desired pattern. Acetone is used to join the strips. Here is a section that has been laminated and is now being scraped clean and level.
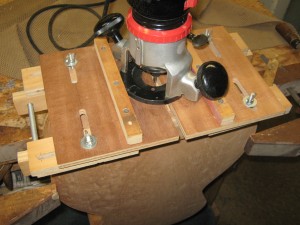
After cleaning up the edges of the top and back, the first bit of binding to go on is where the two sides meet. This is known as the tail graft. This photo shows the router and adjustable fixture I generally use to prepare the tail of the guitar for the piece that will be glued in.
After routing, I am ready to glue in the segment of bining.
This now has to sit for a day to harden before I can start putting the binding around the edges of the body.


